My blog lost a lot of traffic recently, because Googlebot couldn’t crawl my site. It was timing out and receiving errors, so my host recommended I utilize a CDN.
Lemon & Lively has been growing in traffic, but I didn’t think that was using too much bandwidth. 🤷♀️
I started using Bunny.net’s CDN, because the WordPress (WP) CDN via Jetpack screwed up how my images displayed.
I also didn’t like my images being served from WP servers, regardless of what CDN they use, because I don’t want to have to rely on WP to keep their ish together.
After researching other options, Bunny.net made setting up and paying for my own content delivery network (CDN) look easy.
It was easy. 😎
Oh —
To take the screenshots for this post, I…deleted my account. 🤦♀️ In the moment, it made the most sense to my brain to create a new account to have this process like it’s a brand new account…and my logic was, “Okay, so I should delete this account.”
😶 So let’s have a moment of silence for my original account that had absolutely nothing wrong with it, and all the stats I lost from deleting the account.
I dissociated mid-thought process. 🤦♀️😒
Moving on.~
How Bunny.net works
Bunny CDN doesn’t host your images. You set it up, and Bunny mirrors cached content (static files) to serve to your audience (and you, too, if you prefer).
Signing up
Signing up is fairly simple! You receive a free 14-day trial and don’t even have to input your credit card.
If you use my link, I’ll receive $20 that I can use towards my account. 💖
You need only your email address, a password, and to confirm your email via the email they send you. 🙃
Charging account
Instead of having established monthly plans, you have the ability to charge a certain amount to your account to use as “credit”.
You do have the option of charging a certain amount to your account each month, too.
I actually like this more than a set monthly rate. It gives me more agency over my account than simply deciding for me how much data I have to use.
The minimum monthly payment is $1. If you have under that, you’ll be charged $1.
The minimum you can charge to your account is $10.
You can also manage multiple sites under one account, instead of creating multiple accounts — and you can access high-volume discounts if your monthly traffic exceeds 1TB (1000 GB).
How to add a new pull zone
Pull zones are your sites. One site per pull zone. You can add multiple pull zones to one account.
In the sidebar menu, click on CDN. The pull zone page should look like this:
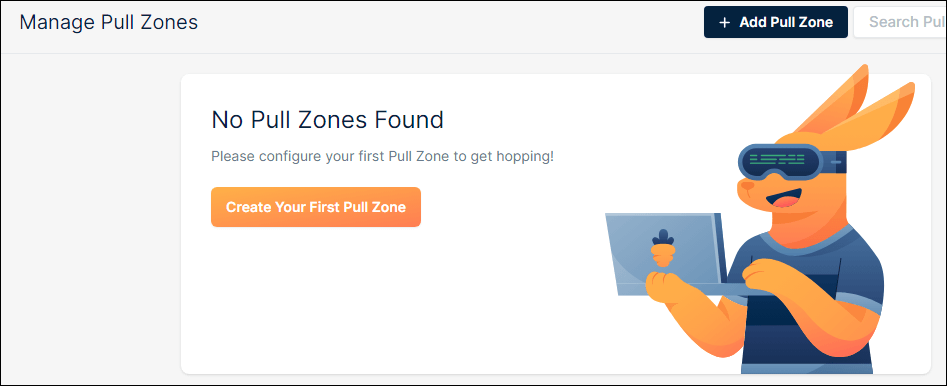
Click + Add Pull Zone or Create Your First Pull Zone.

Your Pull Zone Name is also going to be your b-cdn.net subdomain. This is the default bunny.net CDN location.
You can’t rename your pull zone after creating it, but you can create a new one later if you want to change the name. If you’ll be using a custom hostname, like cdn.lemonandlively.com, then the pull zone name is only for you. 🤷♀️
Type in your full site URL for the origin URL.
Tiers & pricing zones
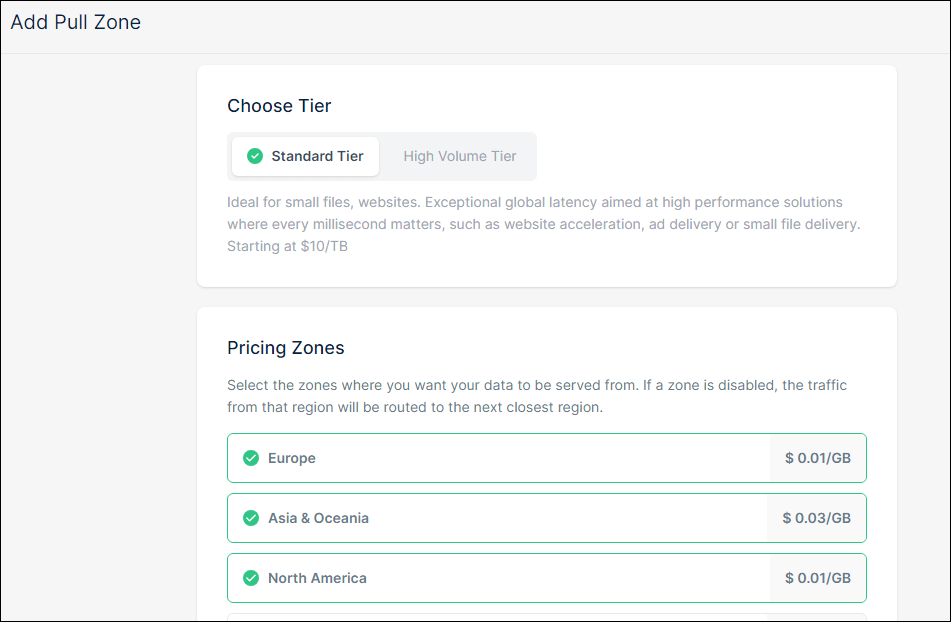
I only utilize the Europe (1¢/GB), Asia & Oceania (3¢/GB), and North America (1¢/GB) pricing zones.
The Standard Tier works for most blogs. The smallest High Volume Tier package is for the first 500 TB, which is 500k GB.
Start on Standard Tier first. Many bloggers and site owners go for bigger web hosting packages because they want to have enough space, but they’re overestimating how much storage space they’ll need too soon — and wasting money in the process.
On the Standard Tier, you can charge $10 minimum to your account at a time and let it deduct from that over time. Upgrade to the next tier if you start nearing 1000 GB (1TB).
Linking your CDN to WordPress
Install the Bunny.net WordPress plugin. Even if you use a caching plugin, like W3TC, the Bunny.net plugin gives you better at-a-glance data.
Once you’ve activated the plugin, you’ll see the Bunny.net configurator.
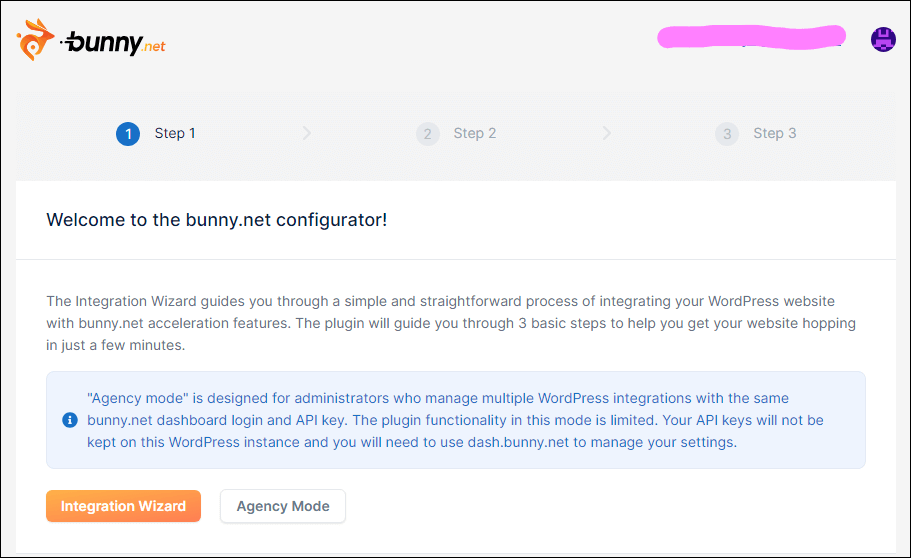
Choose Integration Wizard unless you know what you’re doing. I manage multiple WP sites under one bunny.net dashboard and click the orange button. 🤷♀️
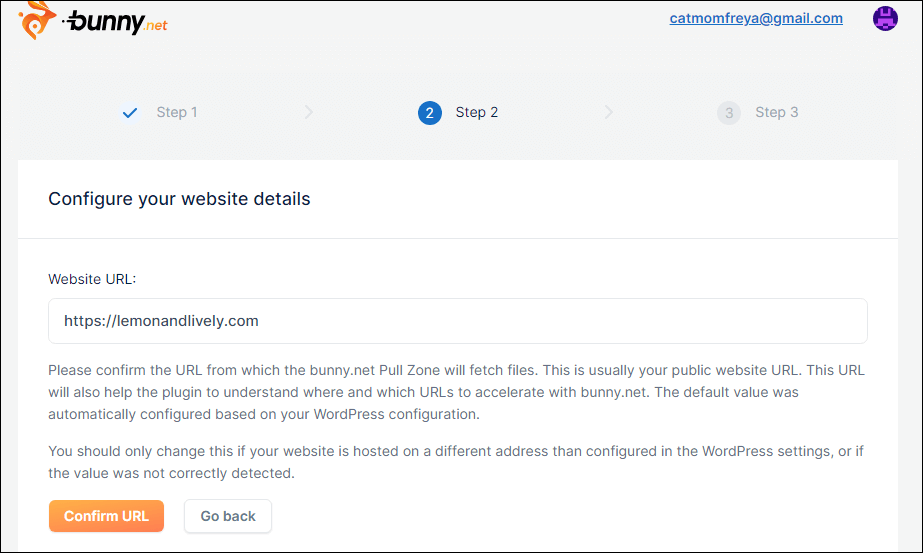
Confirm your URL. I forgot to screenshot the next page, but it will walk you through everything. Select your pull zone from the dropdown instead of creating a new one for the site.
You’re set!
Custom hostname
Custom hostnames add some professionalism to your CDN setup. I feel like it helps me look a little more legit, even if people aren’t seeing the image source codes. 😅
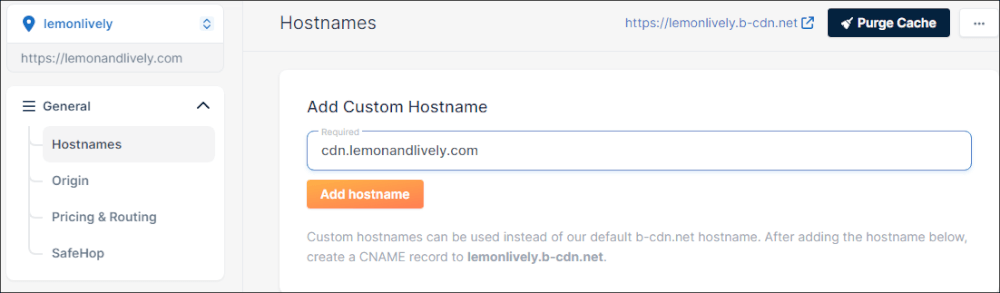
Type in what you want your custom hostname to be. Using a subdomain, like cdn.lemonandlively.com, is common. I’ve also seen static as a common subdomain.
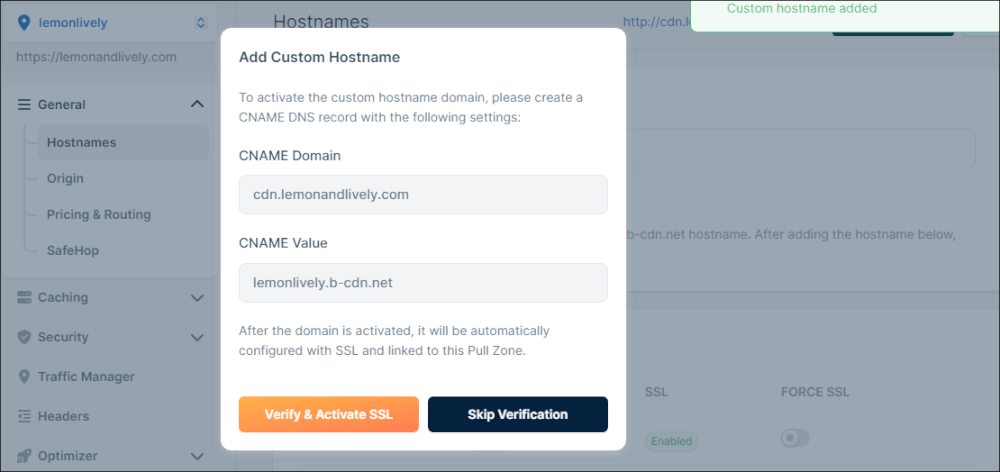
After submitting, you’ll see a pop-up. Wait for your host to finish refreshing the DNS, because you won’t be able to Verify & Activate SSL until you do.
If it closes out, press the “Enable” button next to your custom hostname and select the “free certificate” option (orange button).
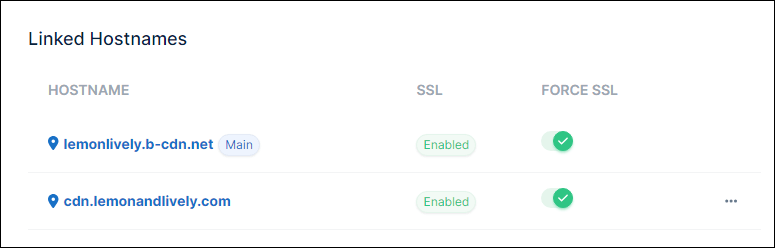
Force SSL on both linked hostnames by clicking the toggles.
Navigate to your Bunny.net WP plugin > CDN. Scroll until you see “CDN Hostname”.
You can also edit this URL and go there directly:
https://yourdomain.ext/wp-admin/admin.php?page=bunnycdn§ion=cdn#cdn-config-hostname
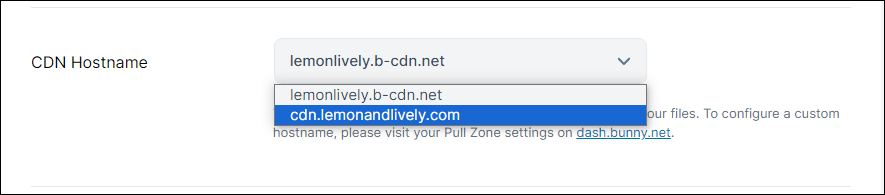
Select your custom hostname from the dropdown. Scroll down to save the settings.
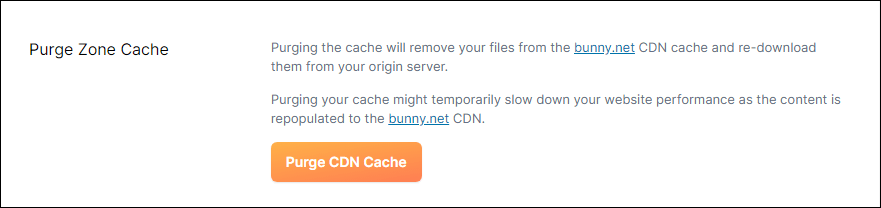
Scroll up to purge the cache, or edit the URL below to navigate to it directly:
https://yourdomain.ext/wp-admin/admin.php?page=bunnycdn§ion=cdn#cdn-cache-purge
Test whether it’s working by viewing your site’s source code!
Press CTRL + U on your site and CTRL + F for your custom hostname.
If you toggled ON the option to disable CDN for site admins, test this in a private browser. Purge all your site caches if you use a WP caching plugin.
Note on purging CDN cache:
Yours may work without this. I do it just in case, to cover all my bases. 💁♀️
Optimizing your Bunny CDN
These are the settings I use. 👇
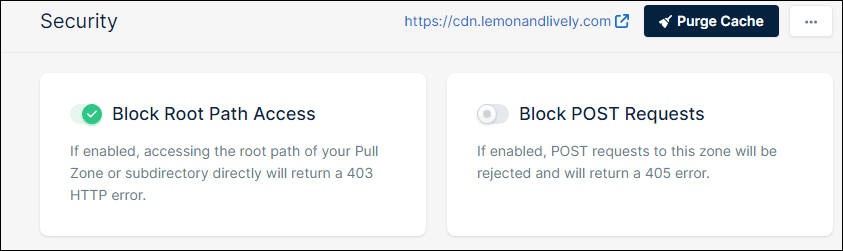
Block root path access
Blocking the root path access means blocking root/directory access to your hostname.
By default, you’ll see a mirror. Note the URL in the screenshot is cdn.lemonandlively.com:
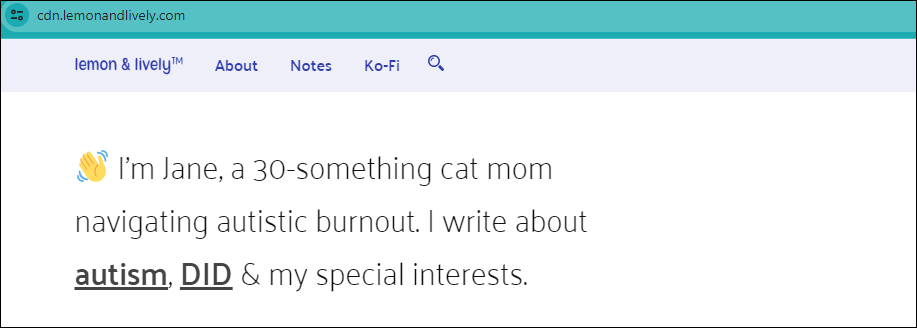
Blocking root access instead serves a 403 Forbidden error, which means the server understands the error, but access to the resource is restricted.
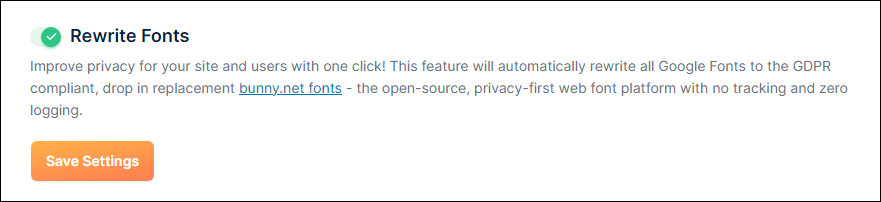
Bunny Fonts
Bunny Fonts mirror Google Fonts. I opt into this, since I do use a Google font.
I like it, because it removes unnecessary Google cookies from my site. 💁♀️
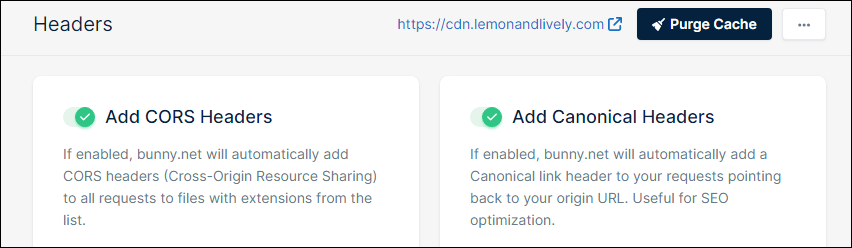
Canonical headers
Still in the pull zone settings, navigate to Headers.
Disable CDN for site administrators
In the Bunny.net plugin’s CDN settings, you can toggle ON to disable serving images from the CDN for logged-in users with the admin role.
You can also edit this URL to access it directly:
https://yourdomain.ext/wp-admin/admin.php?page=bunnycdn§ion=cdn#cdn-config-disable-admins

I disable this for me, because I pay for my hosting. 👀
Origin settings
Navigate to CDN > Your Pull Zone > General > Origin.
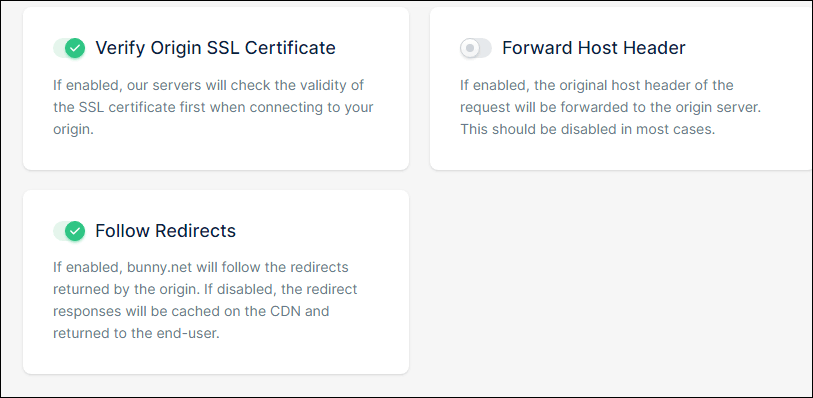
Toggle ON:
- Verify Origin SSL Certificate
- Follow Redirects
Origin Shield
Still in the Caching menu, navigate to Origin Shield.
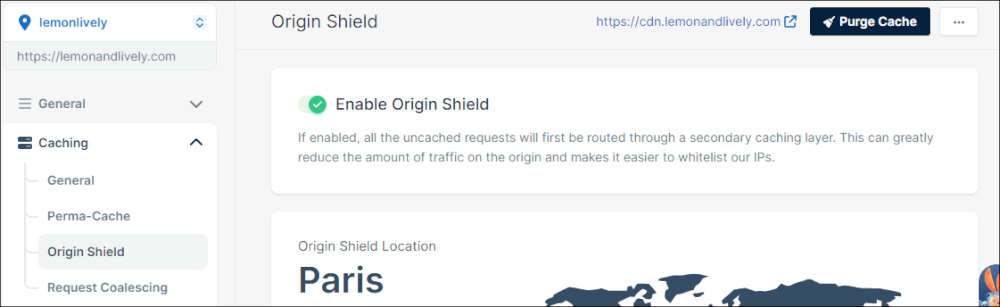
I enable Origin Shield to lighten the load of uncached requests. Googlebot crawls my site a lot (new posts start showing up in Google the next day), so I wanted to ensure it wouldn’t trigger my host’s crawl limits and block Googlebot. 😬
Smart Cache
In your Bunny.net dashboard, navigate to Delivery > CDN > Caching > General.
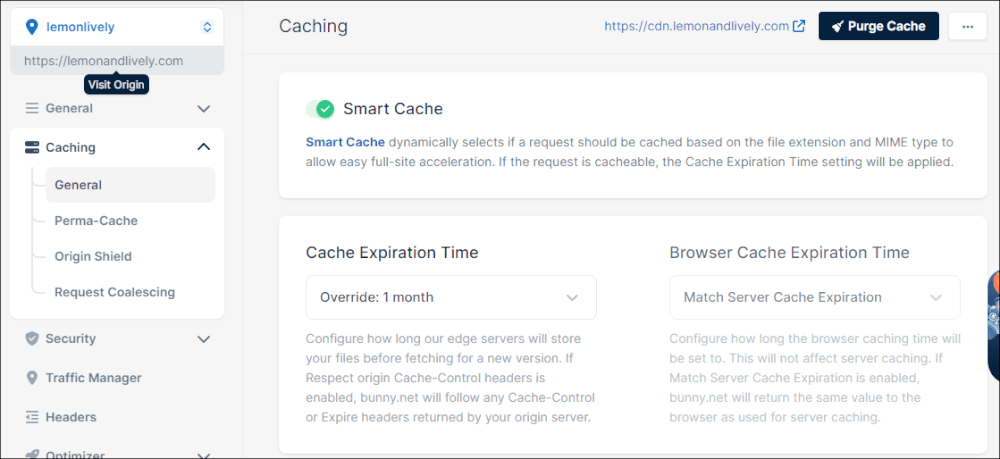
I set the Cache Expiration Time to 1 month.
My experience using Bunny.net
I’ve been using Bunny.net for two months now and love it. I do see a difference in my site’s performance.
Before Bunny.net, Googlebot couldn’t crawl my site — which means new posts weren’t being indexed. I lost a lot of traffic to this issue.
There is a bandwidth limit for crawling bots. If they crawl too much, they hit errors. 🤷♀️ Some hosts do this to lighten the server load.
My site was getting quite a bit of other regular traffic. W3TC didn’t help much? 😒 I think it caused more problems for my site over features I could have DIY’d.
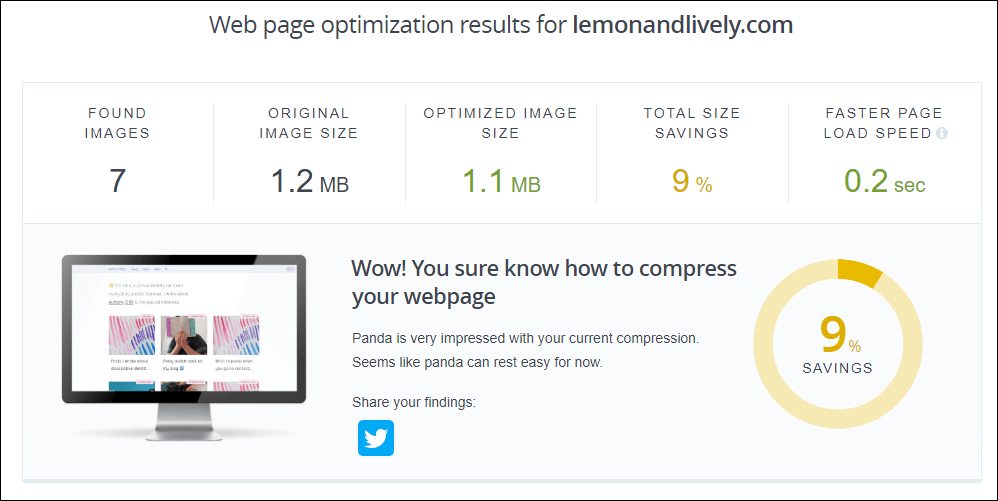
I compress images to optimize them for the web via Tinify.
My host recommended I check for penalties in Google Search Console (GSC) or get a CDN. I didn’t have any penalties in GSC.
I’ve noticed my site loads more quickly with my current setup. I’m leaning towards implementing Bunny.net’s Optimizer for $9.50/mo., though I think I’ll have to relinquish my Tinify addiction. 🤔
GDPR compliance
I’m in the US, but I think I’m still obligated to have GDPR-compliant site? I hate cookie notices. They’re so annoying.
I hate how I have to opt-in to every site, or toggle off additional settings put in place because other site owners have no chill and want to track all the things.
Less data tracking, I think, is the future — or at least where the internet is headed. Less data tracking gives people the agency over what they consume or buy.
The people who think tracking all the data is the best route give me stalker vibes. Do you really need to know how many of your readers were searching for menstrual products last month so you can serve them tampon ads on a completely unrelated post? 🧐
I’m leaning more into gentle marketing and learning how to better recognize aggressive marketing so I don’t fall prey to implementing it on my own site.
Love this post?
Support me by subscribing to my blog and/or buying me a cuppa:
Leave a comment